
Are you tired of your WordPress website running slow? Do you want to improve your website’s performance and speed? Look no further than website caching!
In this article, we’ll cover everything you need to know about website caching and how to set it up and manage it for your WordPress website.
What is Website Caching?
Website caching is the process of storing frequently accessed website data in temporary storage to reduce the time it takes for your website to load. When a user visits your website, their browser sends a request to your server to fetch the website files. This process can take a long time if your website has a lot of files or if your server is slow.
Website caching solves this problem by storing frequently accessed data in a temporary storage location, such as the browser or server. This means that the next time a user visits your website, their browser can retrieve the website files from the temporary storage instead of sending a request to your server, which reduces the load time of your website.
Types of Website Caching
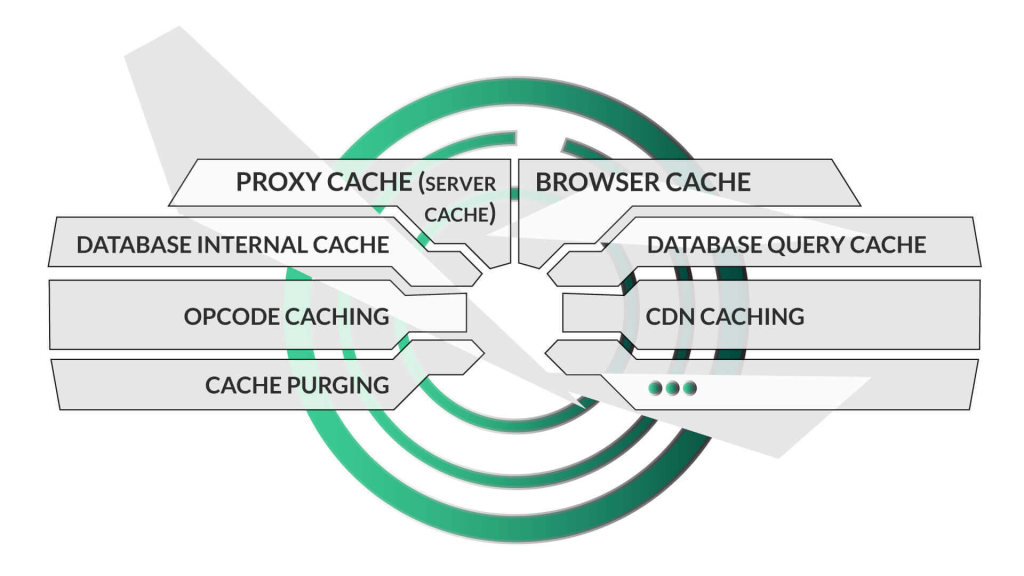
There are several types of website caching, including browser caching, server-side caching, and database caching.
Browser Caching
Browser caching involves storing website data in the user’s browser. When a user visits your website, their browser stores a copy of your website files, including images, CSS, and JavaScript files. The next time the user visits your website, their browser can retrieve the files from the cache instead of sending a request to your server, which reduces the load time of your website.
To enable browser caching for your WordPress website, you can install a plugin like WP Super Cache or W3 Total Cache, which will automatically add cache-control headers to your website files.
Server-Side Caching
Server-side caching involves storing website data in the server’s RAM or hard drive. This type of caching is more effective than browser caching because it reduces the load on your server and can speed up your website even for first-time visitors.
To enable server-side caching for your WordPress website, you can install a plugin like WP Rocket or WP Fastest Cache. These plugins will generate static HTML files of your website pages and store them in the server’s cache. When a user visits your website, the server retrieves the HTML files from the cache instead of generating them on the fly, which reduces the load time of your website.
Database Caching
Database caching involves storing frequently accessed database queries in the server’s cache. This type of caching can speed up your website if your website has a lot of database queries.
To enable database caching for your WordPress website, you can install a plugin like W3 Total Cache or WP Super Cache. These plugins will cache frequently accessed database queries and reduce the load on your server.
How to Set Up and Manage Website Caching for Your WordPress Website
Now that you know what website caching is and the types of website caching, let’s discuss how to set up and manage website caching for your WordPress website.
Step 1: Choose a Caching Plugin
The first step in setting up website caching for your WordPress website is to choose a caching plugin. There are many caching plugins available for WordPress, including WP Super Cache, W3 Total Cache, WP Rocket, and WP Fastest Cache.
Step 2: Install and Activate the Caching Plugin
Once you’ve chosen a caching plugin, the next step is to install and activate it on your WordPress website. To do this, go to your WordPress dashboard, select Plugins, and then click Add New. Search for the caching plugin you’ve chosen and click Install Now, then Activate.
Step 3: Configure the Caching Plugin
After activating the caching plugin, the next step is to configure it for your website. Each caching plugin has different settings and configurations, so it’s important to read the documentation or follow the instructions provided by the plugin.
Step 4: Test Your Website’s Load Time
After configuring the caching plugin, it’s important to test your website’s load time to ensure that the caching is working correctly. You can use tools like GTmetrix or Pingdom to test your website’s load time and identify any issues that need to be addressed.
Step 5: Monitor and Maintain Your Website’s Caching
Once you’ve set up and configured website caching for your WordPress website, it’s important to monitor and maintain it regularly. This includes checking your website’s load time, clearing the cache when necessary, and updating the caching plugin as needed.
Conclusion
Website caching is a powerful tool for improving your WordPress website’s performance and speed. By storing frequently accessed website data in temporary storage, website caching reduces the load time of your website and improves the user experience.
Setting up and managing website caching for your WordPress website can be complex, but with the help of a caching plugin and some basic knowledge of website caching, you can speed up your website and keep it running smoothly.