Here are the steps on how to set up and manage WordPress website custom search functionality:
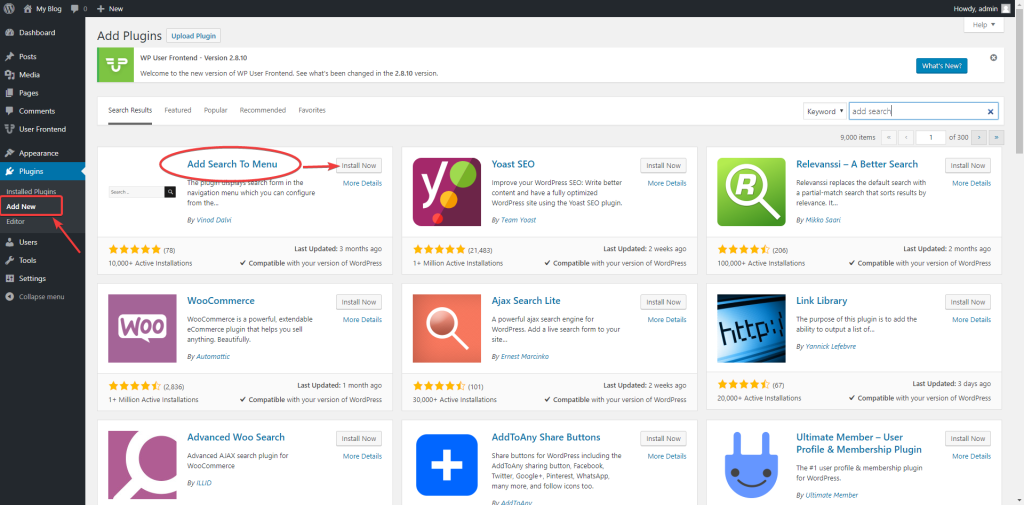
- Install and activate a plugin. There are many plugins available that can help you create custom search functionality in WordPress. Some popular plugins include:
- SearchIQ
- WP Search Extend
- Advanced Custom Search
- Ivory Search
- Configure your plugin settings. Once you have installed and activated a plugin, you will need to configure its settings. This may include things like the fields you want to search, the order of the results, and the number of results to display.
- Customize your search form. Most plugins allow you to customize the appearance of your search form. This may include things like the size and color of the form, the text of the search button, and the placeholder text.
- Add your custom search form to your website. Once you have customized your search form, you can add it to your website. This can be done by adding a shortcode to your pages or posts, or by embedding the form in a widget.
- Test your custom search functionality. Once you have added your custom search form to your website, you should test it to make sure it is working properly. You can do this by searching for different terms and checking the results.
Here are some additional tips for setting up and managing WordPress website custom search functionality:
- Choose the right plugin. There are many different plugins available, so it is important to choose one that is right for your needs. Consider the features you need, the ease of use, and the price.
- Customize your settings. Most plugins allow you to customize the settings to suit your needs. This will help you get the most out of your custom search functionality.
- Test your search form. It is important to test your search form to make sure it is working properly. This will help you identify any problems and make sure your visitors can find what they are looking for.