Moodle is a popular open-source Learning Management System (LMS) used for creating and managing online courses. The process of downloading and installing Moodle is relatively straightforward.
Here are the steps on how to download and install Moodle:
Check System Requirements Ensure that your server meets the minimum system requirements to run Moodle.
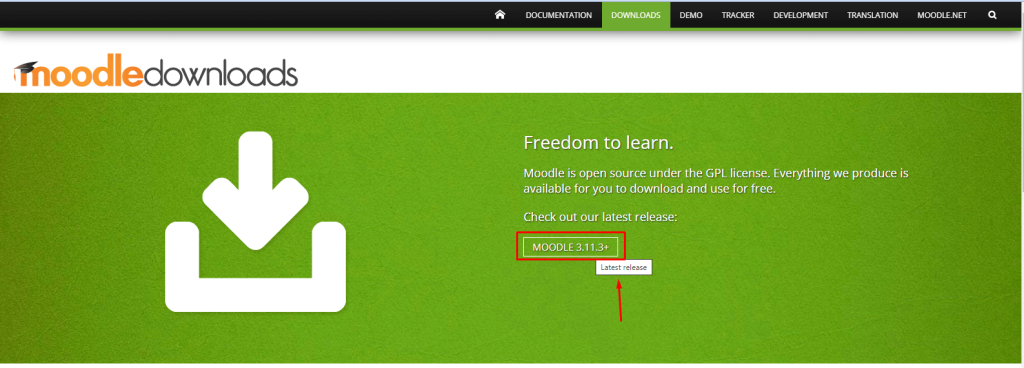
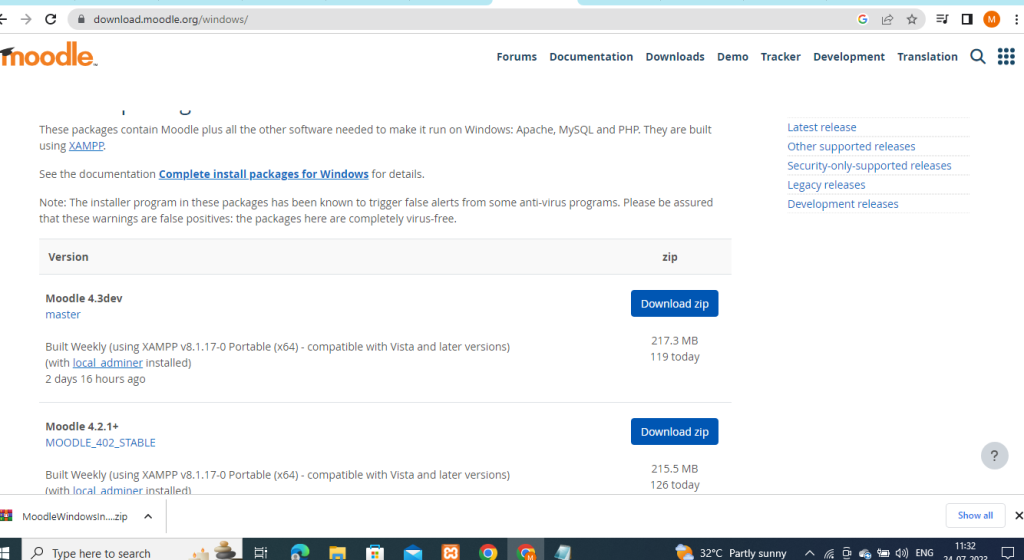
Step 1: Download the latest Moodle package from the Moodle website, Visit Moodle’s official website at https://moodle.org/ and go to the “Download Moodle” page.
Step 2: After you download Moodle, extract the files from the archive. Then, use your web hosting control panel to upload the files to your web server.
Step 3:Create a Database: First, go to your hosting control panel or use a database management tool like phpMyAdmin or Adminer. Next, make a new database for Moodle. Don’t forget to note down the database name, username, and password, as you’ll need them later during the installation.
Step 4: You can choose to set file permissions in Moodle, though it’s optional. Usually, the default permissions work fine, but if you face any problems, you might have to change the permissions of some files or folders.
Step 5: To begin installing Moodle, open your web browser and go to your Moodle website’s domain name. The installation wizard will then help you with the rest.
- Choose your language and click “Next” for the installation process.
- Moodle will check your server to ensure it meets the minimum requirements. Fix any flagged issues before proceeding.
- Enter the database details you created in Step 4 (database type, host, name, username, and password).
- You can keep the default environment settings unless you have a specific reason to change them.
- Provide basic settings for your Moodle site, such as site name, description, and time zone.
- Create the admin account to manage your Moodle site.
- Optionally, Moodle may ask you to install additional plugins. You can choose to install them or skip this step.
- Review your settings and click “Next” to start the installation process.
Step 6: Finish Installation Once the installation is complete, you’ll be directed to the Moodle login page. Log in with the admin account you created in Step 6 and start configuring your Moodle site according to your needs.
That’s it! You have successfully downloaded and installed Moodle on your server. Now you can begin creating courses and managing your e-learning platform.