To integrate external tools and plugins with Moodle, you can follow these general steps:
1. Find a compatible tool or plugin: Look for tools or plugins that are designed to integrate with Moodle and provide the specific functionality you need.
2. Install the tool or plugin: Once you have found a suitable tool or plugin, follow the installation instructions provided by the developer. Typically, this involves uploading the necessary files to the Moodle server and configuring the tool/plugin settings.
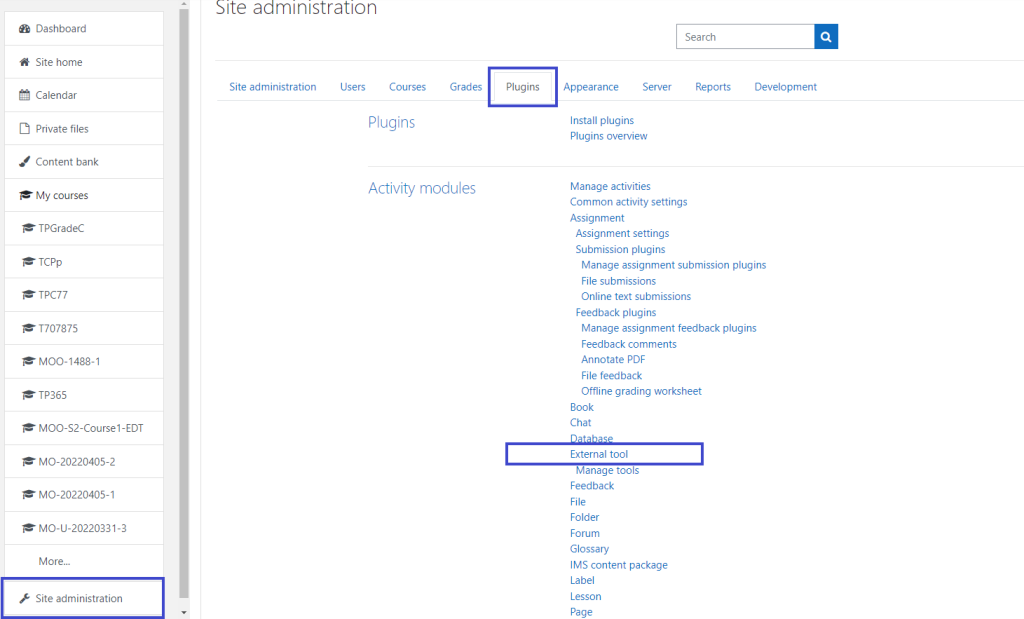
3. Enable the tool or plugin: After installation, log in to your Moodle administration panel and navigate to the “Site Administration” section. Look for the “Plugins” tab and find the installed tool or plugin. Enable it by selecting the appropriate options.
4. Configure the tool or plugin: Access the settings or configuration page of the tool/plugin. Depending on the specific tool or plugin, you may need to provide API keys, authentication details, or other necessary information to establish the connection with Moodle.
5. Test and verify: Create a test course or activity in Moodle to check if the integration is working correctly. Verify that the external tool or plugin is functioning as expected and providing the desired features within Moodle.
6. Fine-tune and customize: If needed, explore further options to customize the integration according to your requirements. This may involve adjusting access permissions, appearance settings, or integration behavior.